Start with what you actually need
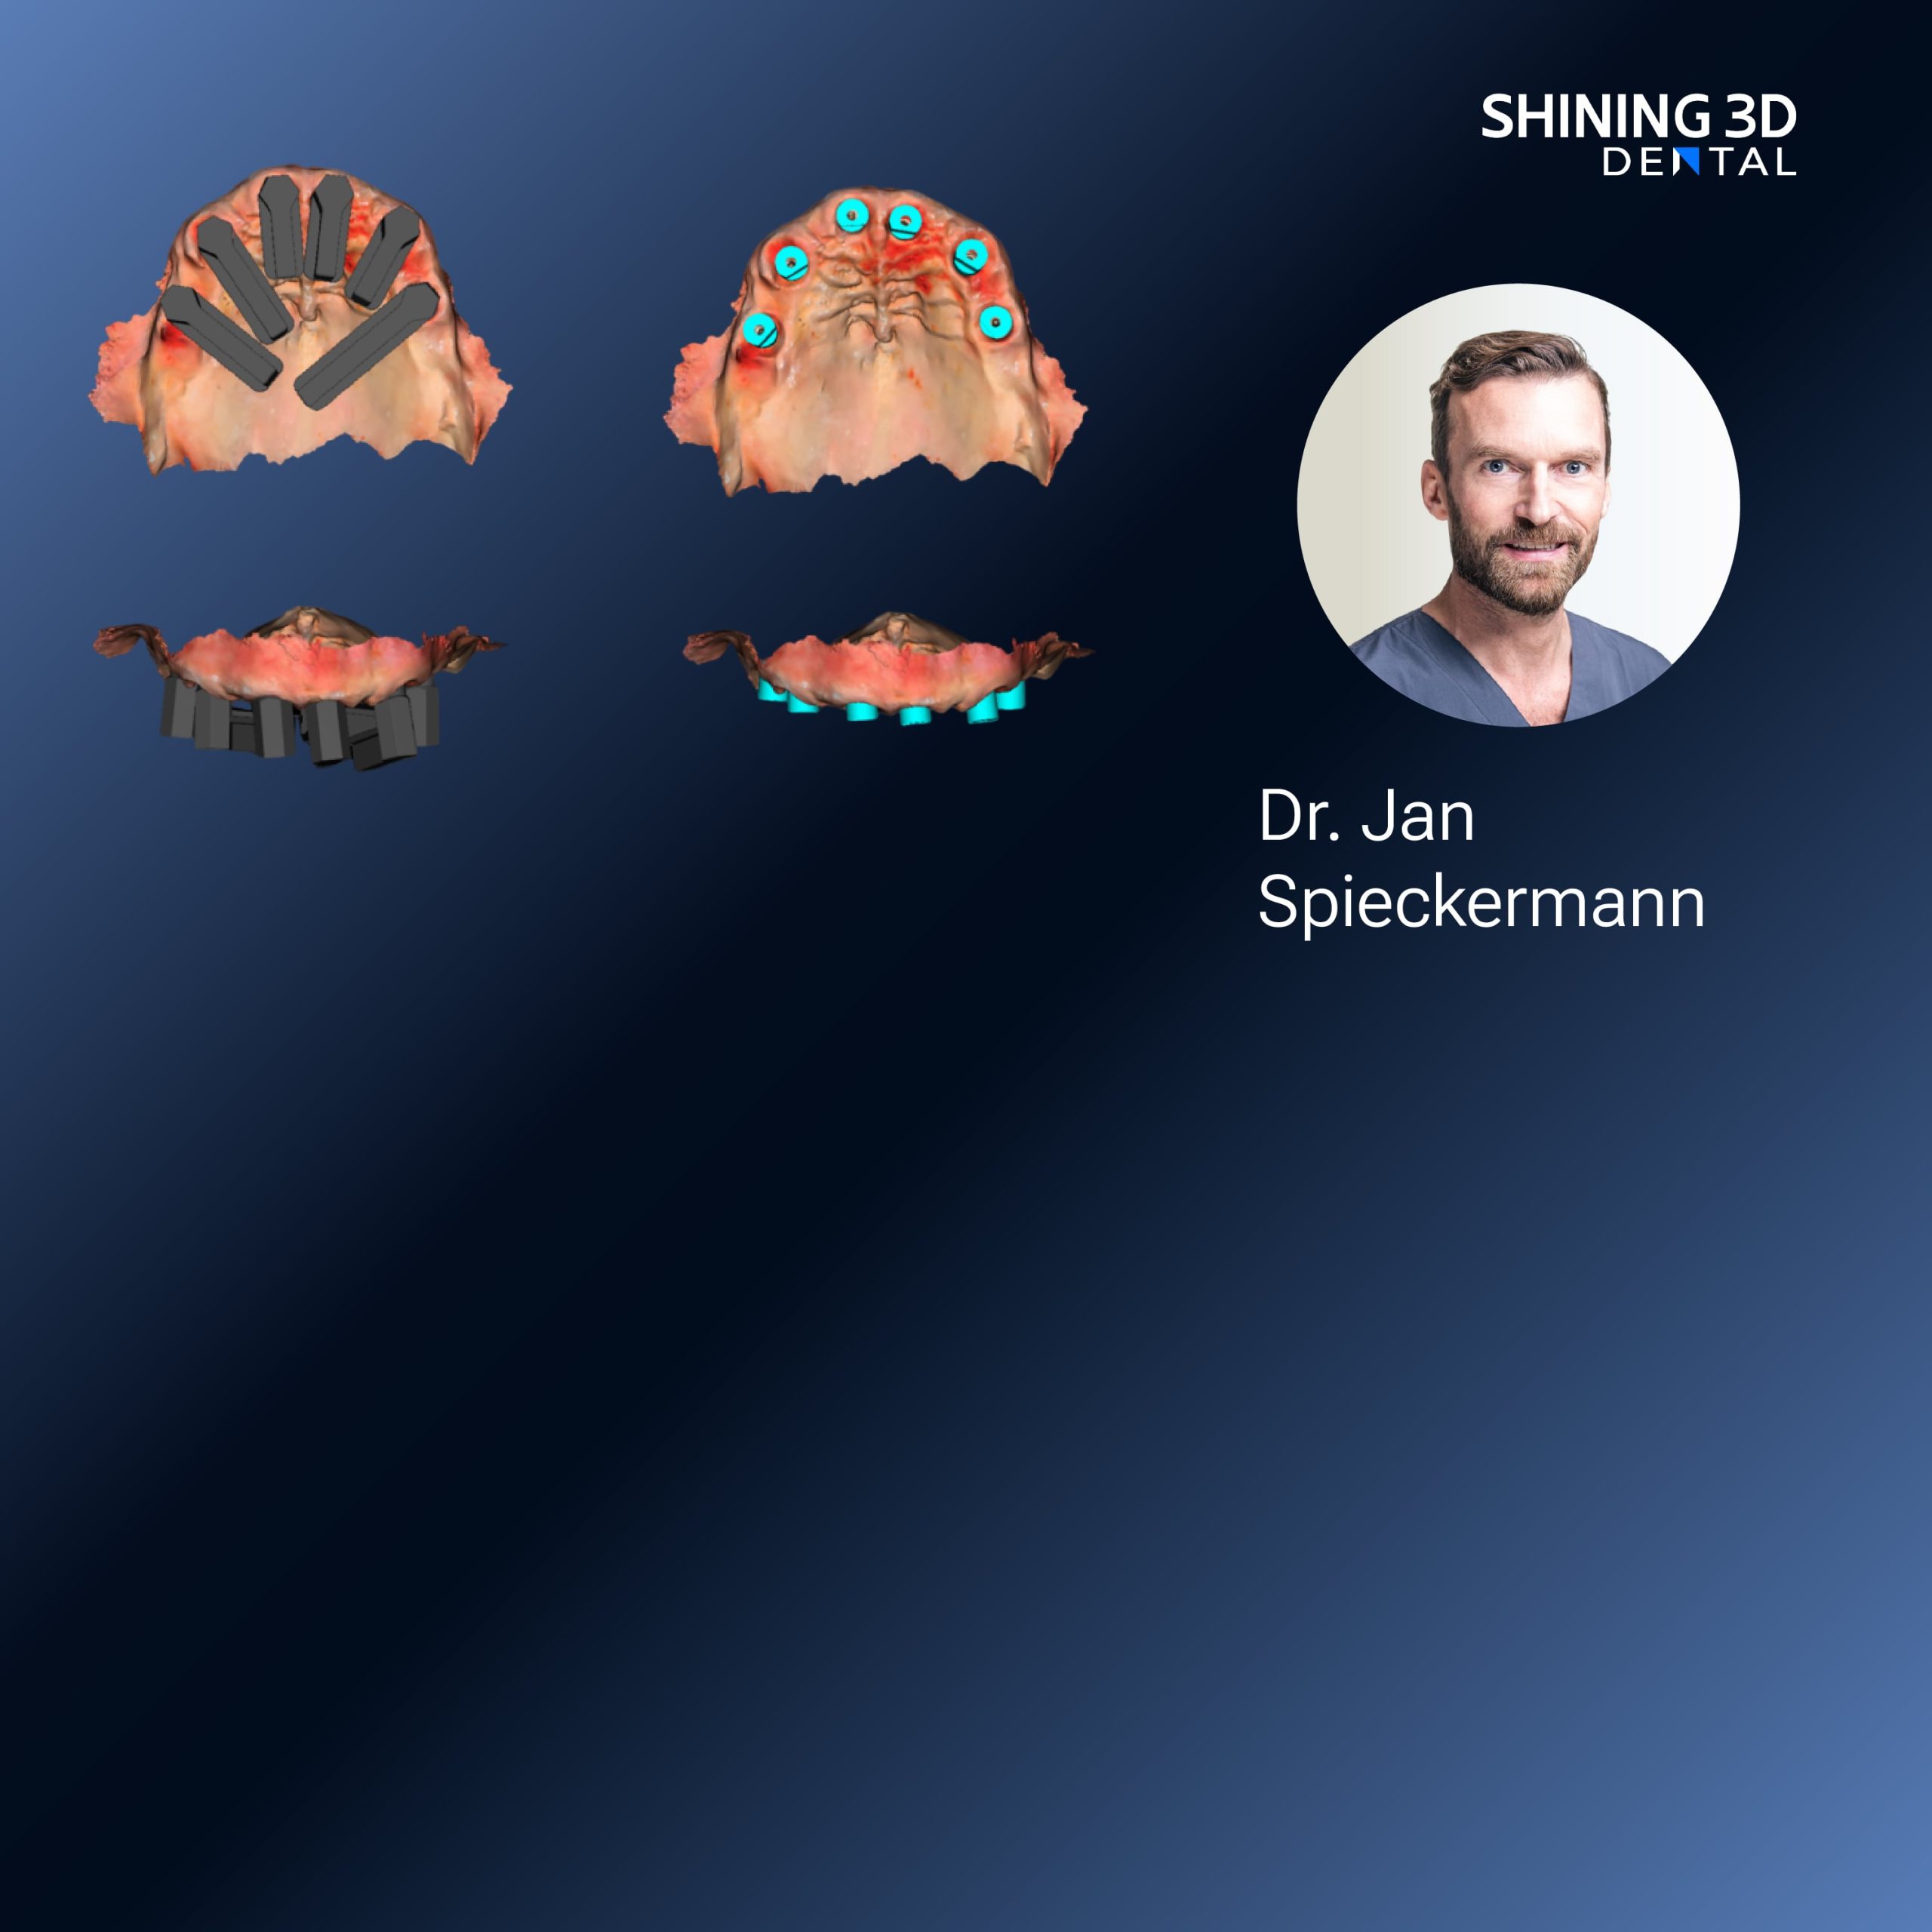
You’re buying a system to solve daily hassles, not to impress a supplier. Begin by naming three real cases you handle every week — say quick single crowns, full-arch implant cases or occlusal splints — then test around them. If you want fast, predictable implant positions, try a dedicated Photogrammetry 3D scanner as part of your shortlist; it changes how you capture multi-implant relationships and removes guesswork from lab communication.

Core components to audit
Split the workflow into clear parts and score each one: capture, processing, design, production and service. For capture, note absolute accuracy (mm), repeatability and how the device handles reflective surfaces. For processing, check whether files export in open formats (STL, OBJ, PLY) and if software needs constant cloud processing. For design, see if the CAD tools match your lab’s skill level. For production, confirm compatibility with your 3D printers, milling units and materials. For service, measure local support, training and spare-part lead times. Keep the scores simple: pass / marginal / fail.
Run these hands-on tests
Real life beats specs. Do these with your own cases: 1) Scan a single crowned tooth and compare fit on a stone model. 2) Scan a full-arch with multiple implants and verify implant analogue positions against your lab jig. 3) Time the whole loop — capture to a printable file — and repeat three times. Watch for drift between repeats and note any manual fixes you must do in software. If you can’t reproduce the same results twice, walk away or ask for a loaner trial.
Watch for common mistakes
People often buy based on a shiny demo rather than real practice. Don’t ignore the small stuff: inadequate lighting in your room, poor tray management, or using the wrong scan path. Don’t assume staff will pick up new workflows overnight — factor in training hours and the first 20 cases taking longer. Don’t skip end-to-end testing with your actual lab; compatibility hiccups usually show up there, not in vendor demos.
Quick comparison: photogrammetry vs intraoral vs desktop
Photogrammetry shines for multi-implant accuracy and full-arch implant transfer because it captures exact spatial relationships between markers. Intraoral scanners are faster for single units and soft-tissue detail but can struggle when you need implant-level precision across an arch. Desktop scanners give great lab-side control for models and crowns but add steps. Match the tool to the case mix you actually do, not to marketing copy.
Real-world anchor
Several prosthetic labs around Auckland started using precision photogrammetry for implant cases after testing multiple systems; their feedback highlights measurable reductions in remakes and clearer implant transfer files. If you’re checking how a Photogrammetry dental scanner performs, compare its full-arch implant fits against traditional impression transfers at a local lab — that comparison tells you more than quoted tolerances.
Alternatives worth considering
If full-arch implant work is rare in your practice, a high-end intraoral scanner plus traditional implant pickup may be more cost-effective. If you do a lot of lab-based prosthetics, a desktop scanner with a known workflow could keep turnaround tight. For hybrid practices, a photogrammetry solution can reduce back-and-forth with labs and lower chair time for complex cases. Try to borrow or rent equipment for a few weeks before committing.

Decision checklist before you sign the quote
Ask yourself: 1) Did I test real cases and repeat each scan at least twice? 2) Do exported files open seamlessly in my lab’s CAD software? 3) Is there local technical support and realistic training schedules? 4) Have I calculated total cost of ownership including consumables, licenses and downtime? 5) Can my team run a standard workflow without the vendor hovering? If any answer is no, resolve it before purchase.
Final synthesis
Pick the workflow that solves your day-to-day problems, not the flashiest spec sheet. Lean on practical tests, check real lab fits and factor training and support into the decision. For teams that need reliable implant transfers and fewer back-and-forths with the lab, a tested photogrammetry route often trims remake risk and simplifies communication, and that’s why clinics I’ve reviewed tend to move toward systems from SHINING 3D DENTAL when precision and workflow clarity matter most.