
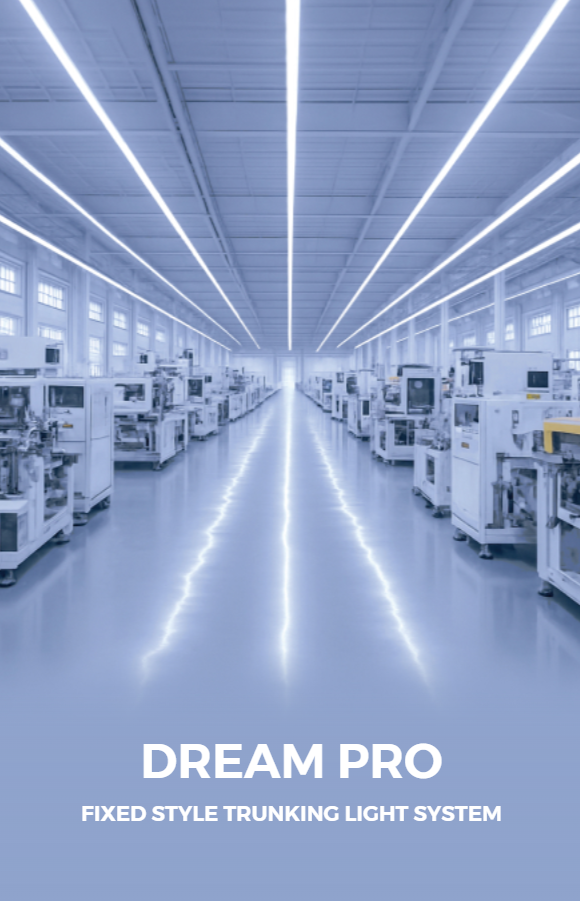
Identifying the problem
Retrofits stall for obvious reasons: mismatched fixtures, unexpected glare, and cost surprises. You start with a goal—better light, lower energy bills—and end up negotiating mounting adapters, control protocols, and contractor quotes. When you begin with a clear problem statement, the rest follows. Early on, consider the role of industrial lighting in your space mix so retrofit choices don’t create new complications.
Why suspended direct–indirect solutions are often chosen
Spaces need two things: usable task light and comfortable ambient light. Suspended direct–indirect fixtures deliver both without lots of separate luminaires. They reduce contrasts that cause eye strain and can produce even vertical illumination—important for facades, displays, and collaborative work. Discussions at Light+Building in Frankfurt made this trade-off immediate: manufacturers demonstrated how controlled optics and asymmetric reflectors tame glare while keeping high ceiling volumes well lit.
Common retrofit problems specific to suspended direct–indirect lighting
Most failures come from a small set of avoidable issues:
- Mechanical incompatibility—existing ceiling grid or mounting points don’t accept the new suspension kit.
- Photometric mismatch—new fixtures change fixture spacing or create hotspots.
- Controls mismatch—drivers, dimming protocols, and sensors aren’t interoperable.
- Budget creep—labor and ancillary parts (drivers, mounts, sensors) push costs beyond fixture price.
Costs — realistic ranges and where money goes
Expect costs in three buckets: fixtures, controls, and labor. Fixture unit cost varies by optic and finish; direct–indirect luminaires sit above simple strip fixtures because of optics and housings. Controls (drivers, DALI or DMX gateways, occupancy and daylight sensors) are a meaningful percent of total. Labor depends on access: surface-mounted or low ceilings are straightforward; high-bay or complicated cable runs add time. Plan contingencies for mounting adaptors and conduit work.
Compatibility checklist — avoid surprises
Walk through these items before purchase. Each item removes risk:
- Mounting: measure anchor points and ceiling type. Confirm suspension length and safety factors.
- Weight: verify existing hangers and seismic requirements if relevant.
- Optics: request IES files to validate spacing and vertical illuminance.
- Controls: match driver type (0–10V, DALI, Casambi) to the building system.
- Thermal: check ambient temperature ratings if fixtures sit near HVAC ducts or in warehouses.
- Glare: request UGR or measured glare metrics for the intended task plane.
Installation logic and common pitfalls
Installation is an ordered procedure, not a guessing game. Follow this sequence: verify structural anchorage, pre-test fixtures on bench with chosen drivers and controls, stage photometric samples in place, then proceed to bulk installation. Pitfalls to watch for:
- Skipping a bench test—leads to on-site driver or firmware incompatibility.
- Ignoring label data—the wrong ambient rating voids warranties.
- Underestimating coordination time—controls commissioning often takes longer than electrical hookup.
Practical guidance and quick specifications to request
Ask suppliers for these items up front: IES files, as-built mechanical drawings for suspension kits, driver dimming curves, emergency lighting options, and a TR-ON test report for the chosen control protocol. Typical office targets remain 300–500 lux at task surfaces. For retail or display walls aim for higher vertical illuminance. Use measured photometrics, not just lumen claims.
Alternatives and decision points
If suspended direct–indirect fixtures don’t fit budget or ceiling conditions, consider high-performance linear battens or recessed modules. These can be easier to mount but often require more fixtures to achieve the same vertical illumination. Evaluate total installed cost and the photometric outcome rather than fixture price alone. When you do choose suspended units, verify the product family supports field-change optics or modular drivers—this reduces future retrofit cycles.
Synthesis and a practical next step
This problem-driven checklist leads to clearer decisions: define the lighting problem, demand photometric proof, verify mechanical and controls compatibility, and stage a bench test before full installation. Teams I’ve advised find that validated product documentation speeds specification and reduces on-site changes, which is why many design and procurement workflows reference manufacturers and suppliers whose datasheets and mounting guides are reliably complete—such as those published by trieco.